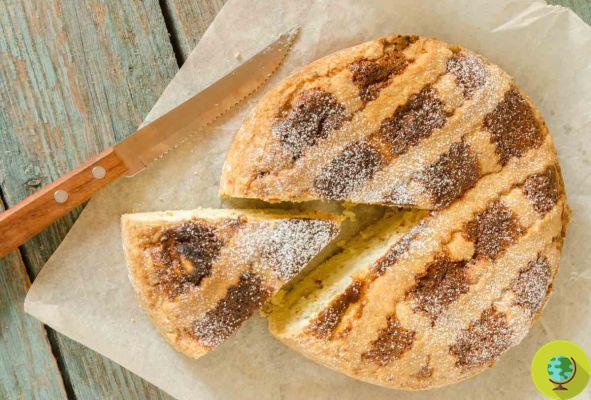
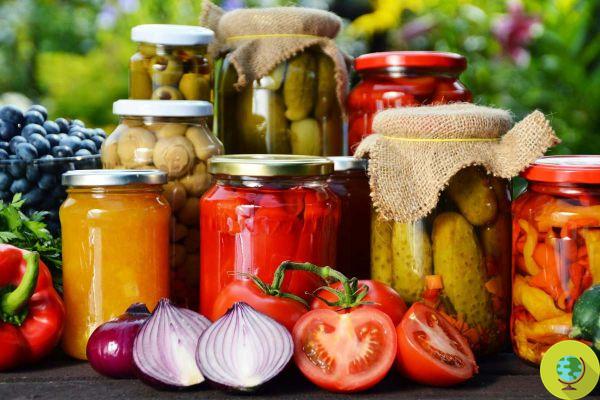
It all started with the cost of organic dried figs ... a theft! Then for some time, having bought and read only raw, the idea of the need to increase the quantity of uncooked foods in my diet became widespread. The drying does nothing but remove the water from the food and thus allows a good and long preservation of the food without it being attacked by molds and fungi, and then it gives a wonderful taste to be able to eat apricots in the middle of winter .... come from greenhouses or from the other side of the world knowing that they are organic and homemade because they are dried by themselves!
He is about to end up run over, his mother saves him
It all started with the cost of organic dried figs ... a theft! Then for some time, having bought and read "only raw", the idea of the need to increase has made its way into me the amount of uncooked food in my diet. THE'drying it does nothing but remove the water to food and thus allows a good e long conservation of food without it being attacked by molds and fungi, and then it gives a wonderful taste to be able to eat apricots in the middle of winter ... that they do not come from greenhouses or from the other side of the world knowing that they are organic and homemade because dried by itself!
Of course the best would be (like in Sicily!) To dry in the sun but ... who sees the sun if it is not August here in my part of the world! ... so here is the desire to "build a dryer!"
Sure there are dozens of them on the market so you can also buy it ... but apart from the very high cost are you sure it will give you the same satisfactions ?!
So ... go!
And study and work with it and search and search and in the end thanks to Mammafelice and hers magnificent dryer with photos and explanations and to "Only raw”Fantastic book that can easily introduce you to raw food nutrition I also realized my first homemade food dehydrator !!!
I made it with plywood panels to form a parallelepiped with 2 perforated sides for partial air recirculation and which, however, do not allow dust or dirt to enter, one side is a “door” that closes with a pair of magnets and on the outside is equipped with a small knob to open it.
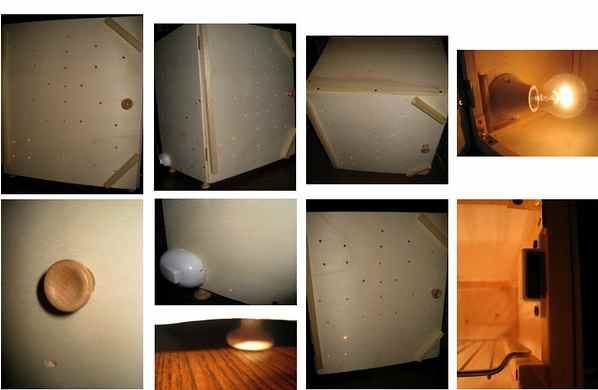
4 knobs then they were used as feet to keep the dryer raised from the worktop, 2 internal shelves were made thanks to the recovery of 2 electric oven grills resting on 2 wooden brackets screwed to the sides and finally a light bulb on the bottom and a switch on the outside complete it.
La bulb is 40 Watt halogen (not energy-saving because otherwise it does not heat!), certainly using it at night and for a couple of times a month when full could be a good compromise.
To be sure that a good drying is obtained without reaching high temperatures, especially on the lower grill (which must never exceed 40 ° C!), A thermometer to keep temperature monitored!
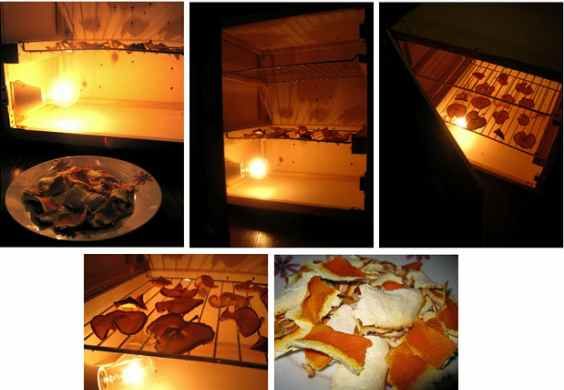
My first experiment was thedrying of lemon and orange peel… Easy and successful… .perfectly dried in approx 6 hours...
Second experiment: slices of apple... maybe a little too thick ... dried in about 15 hours ...
Thanks to "Only raw" the next experiments will be: crispy carob (made with almond butter, bananas, carob powder, dates), zucchini chips, cinnamon date bread (made with sprouted wheat, dates, cinnamon and raisins)!
photos and texts: Kia - Carmela Giambrone
Read also courgettes cooked in the sun
Read also the guide to food storage