DIY bracelets and cords in no time with the ancient kumihimo technique.
He is about to end up run over, his mother saves himDIY bracelets and cords in no time with the ancient kumihimo technique.
What is kumihimo? It is an ancient Japanese technique used to create intertwining (cords) that were used to decorate kimonos or samurai armor. Traditionally, kumihimo was performed with the help of a wooden loom called "marudai" on which the threads to be woven were arranged (held in place by a series of small weights). In recent years this technique, which has now become a trend in Western countries, is being put into practice to achieve bracelets or do-it-yourself necklaces.
Today for practicality, a flexible disc is used built with different materials and characterized by grooves present along its entire circumference. In do-it-yourself shops or online it is possible to buy ready-made kits containing both the base and the threads, and the diagrams, but with simple moves, it is possible to prepare the disc for kumihimo in an artisanal way with easily available materials. in home.
Index
How to make the disc for kumihimo
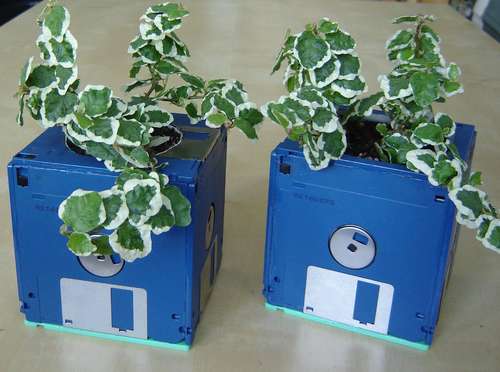
You can create the disc for use with different materials, many of which come from recycling. Old cartons or polystyrene for packaging, foam rubber, but also wood for a longer lasting result. The shape can also vary: circular, but also square or octagonal, the important thing is to respect the distance between the grooves.
Materials for the marudai:
- Cardboard: easily available and above all very cheap material! It is preferable to take a rather sturdy one so as to make the disc more resistant.
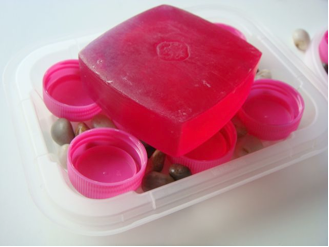
- Polystyrene: this is also very cheap. If you don't want to buy it, you can recycle, for example, the food trays in which meats, vegetables, cold cuts, etc. are stored. Obviously you have to cut the edges and use the base.
- Old CDs: just cut the grooves (always multiples of 8) with a cutter at the right distance.
- Thick foam: in short, the one used for the upholstery of the sofas. It is not very expensive but certainly cheaper than previous materials.
- Wood: in wood it is certainly the most durable and most similar to the frames used in the past. In addition to the disc, they often also have four pillars and a base. They can be easily made if you are familiar with DIY (here you will find several ideas) or, if you are passionate about it, buy it already made by various craftsmen or even use an old stool by drilling it in the center.
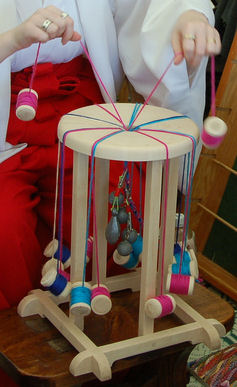
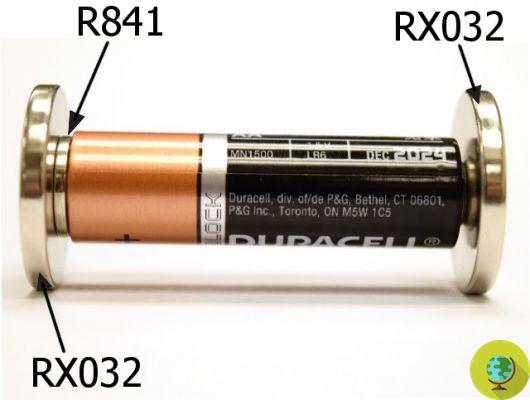
For more complex and multi-threaded creations, it is recommended to tie a small weight to each string to make weaving easier.
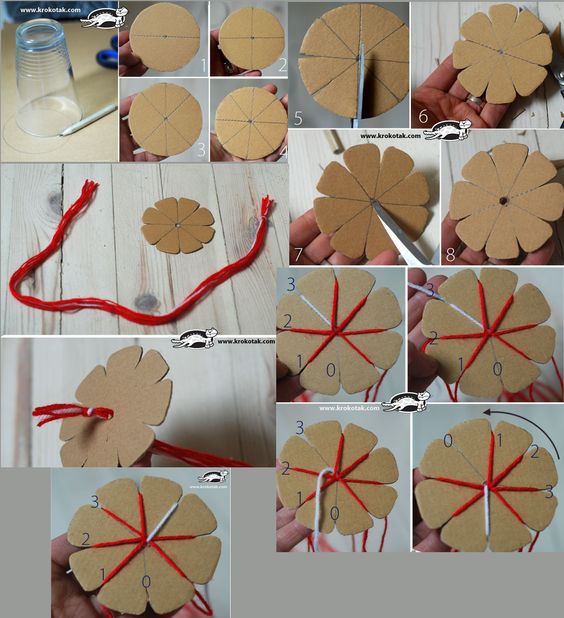
Procedure for the realization of the disc
- Cut out a disc with a diameter of about 10 - 15 cm.
- Cut another hole of about 2 - 4 cm in diameter in the center. I recommend that you do not make a hole too small because this will prevent you from creating large cords or inserting, for example, pearls to embellish your bracelet or necklace.
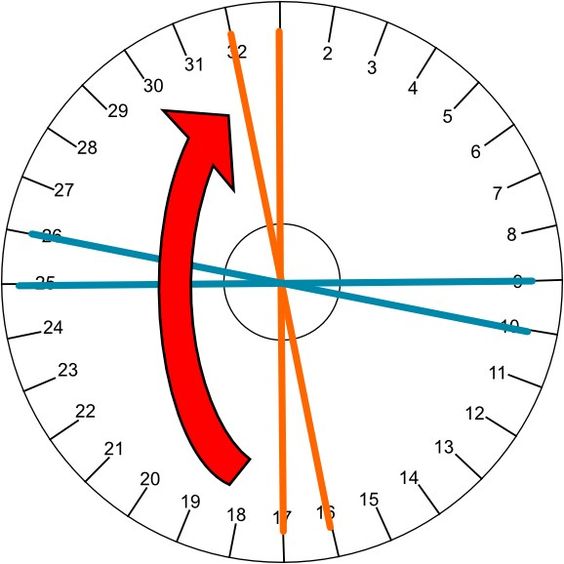
- Make 32 notches equidistant from each other and about 1 cm deep on the outside of the disc. The cuts of the notches must be very thin because their purpose is to hold the threads in place during processing. How to divide the disk into 32 equal parts? You can help yourself with a protractor or with a sheet of paper. On the latter, reproduce the outline of your disc and cut it out. Then fold it in half, obtaining two semicircles (or 2 wedges). Subsequently, fold it again in half bringing one corner over the other (4 wedges) and so on until you get 32 total wedges. At this point, reopen the paper circle, overlay it on the kumihimo disc and use the folds as a reference for positioning the notches. For less complex bracelets it is also possible to make fewer "notches", as long as it is a multiple of 8.
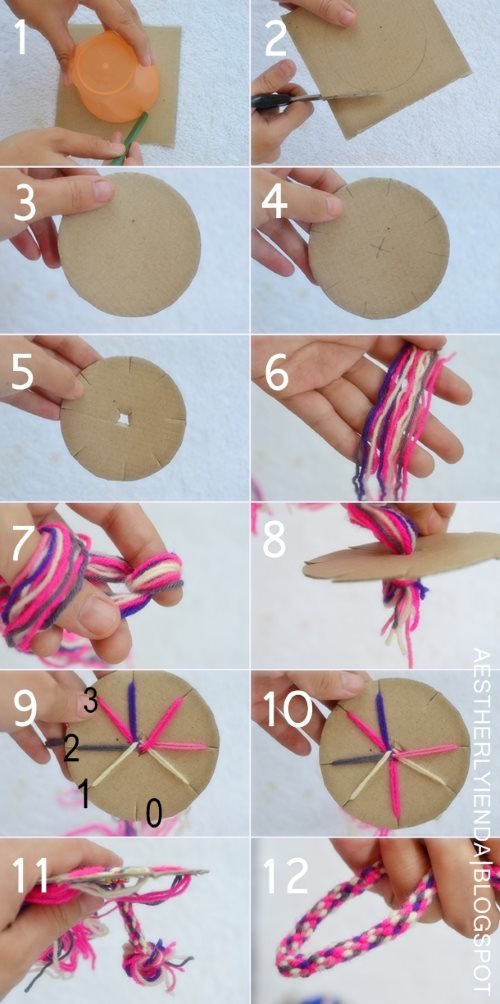
- Number the notches from 1 to 32 and highlight positions 8, 16, 24 and 32. You can mark these numbers or draw dots, stars, hearts next to them… in short, whatever you prefer!
Tecnica del kumihimo
Kumihimo is performed with a variable number of threads by performing a series of movements. The simplest weave is made with 4 threads but, once you have acquired some experience, you can try your hand at more complex weaves using even more than 20 threads. Any type of thread can be used: wool, silk, cotton, waxed cord, etc.
Depending on the weaving pattern, the movements and how the threads were initially arranged, you can obtain bracelets and necklaces with different links. There are many videos and tutorials that can be found online to make bracelets or necklaces with different patterns also based on the number of threads used (and grooves). There are also books with diagrams, patterns and step-by-step explanations
You just have to try and give vent to your imagination and creativity!
Roberta Petruccini