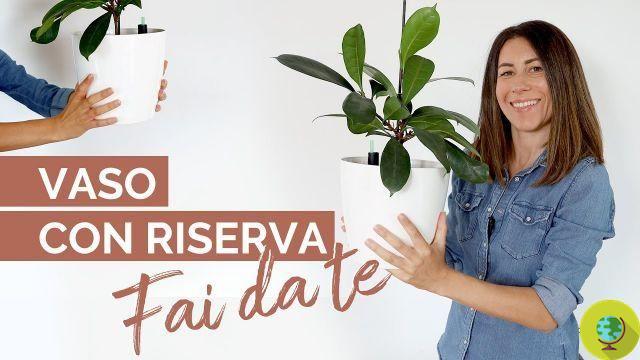
Have you always had the desire to create a miniature garden? In this post we will show you how to build a nice green space in micro format in a few simple steps, as a fun project to occupy our weekends with greenery, but in a small way.
He is about to end up run over, his mother saves him
You have always had the desire to to create a miniature garden? In this post we will show you how to build a nice green space in micro format in a few simple steps, as a fun project to occupy our weekends with greenery, but in a small way.
Phase 1: necessary material
This mini garden can be done using readily available materials that are readily available around the house. You will need:
1) Any size flower pot you want (it's mini garden size)
2) A climbing plant with a stick to support it
3) Small tree trunks (for bench, table and fences)
4) Paper (for small pots)
5) Thick paper (for mini water bucket and mini breather)
6) Scissors and cutter
7) Necklace
8) Small plants, which will grow around larger ones
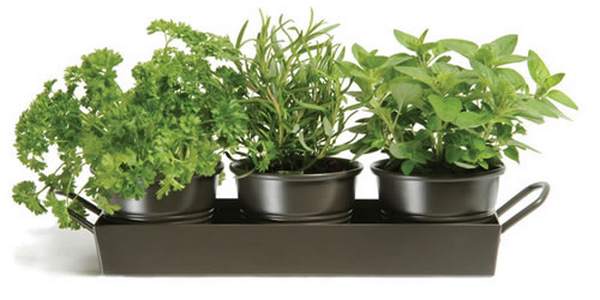
9) Plants for the mini garden
10) Anything you want to add
Phase 2: bench and table
You will need small tree trunks and glue to make them. Use the utility knife to cut logs or sticks. The dimensions of the mini furniture depend on the size of the container which will be used to make the mini garden. To make the bench you will need 10 pieces of small tree trunks. 3 pieces for the seat, 4 pieces for the legs and 3 or 4 pieces for the backrest. Cut a small piece of thick paper and glue 3 sticks to it (to make the seat). Now turn it over and glue the legs on the 4 corners. Finally glue the back to complete the bench. Similarly, proceed to the table.
Step 3: mini fences
Cut 2 sticks of equal size and put them in parallel. Now glue some smaller sticks as a fence, as shown in the picture. This is the simplest way of making miniature fences.
Step 4: mini paper planters
Cut a small piece of paper (I used 3 x 5cm), roll it around your finger and glue the sides together. Now fold any side of the rolled paper to form the bottom of the vase. Use masking tape or glue while folding. Wrap the planters with clear tape. Carefully add the seedling first, then the soil.
Step 5: small gardening tools
To make miniature gardening tools we use some thick paper. For the blow-dryer you need to cut 6 pieces of thick paper. Glue the various cut out pieces together as shown in the figure. Bucket making is even easier. Cut a small piece of paper, roll it up and glue the sides together. Glue a round piece to the bottom. Take a small piece of wire and attach it as a handle. Both the watering can and the bucket can be colored silver.
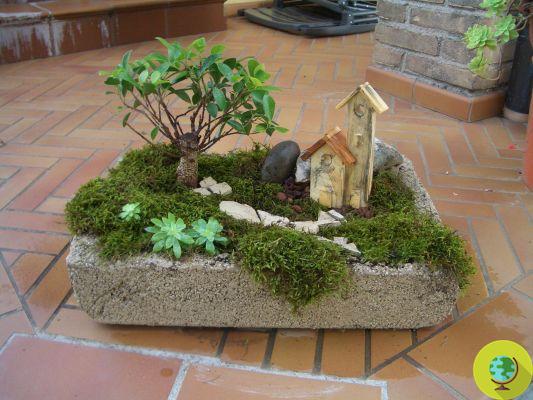
Step 6: decorate the garden
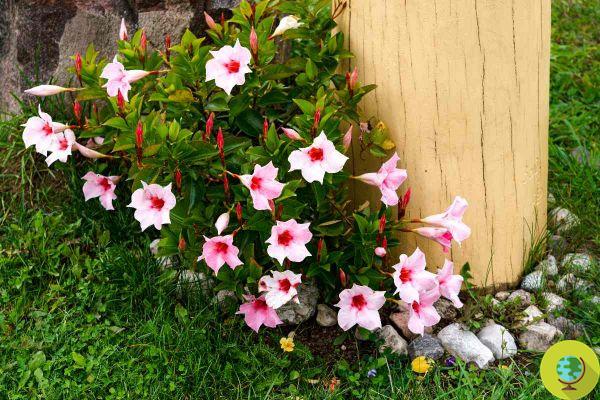
Place the climbing plant on one side of the pot and decorate the garden as desired. The more micro-details there are, the more beautiful the garden will be when finished. Working with such small things is a bit difficult, but if you arm yourself with patience it will be really worth it.
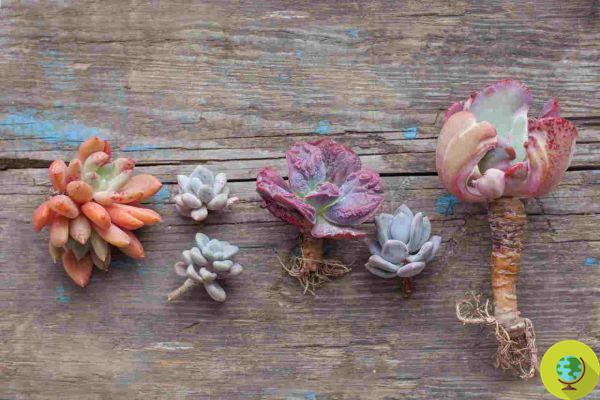
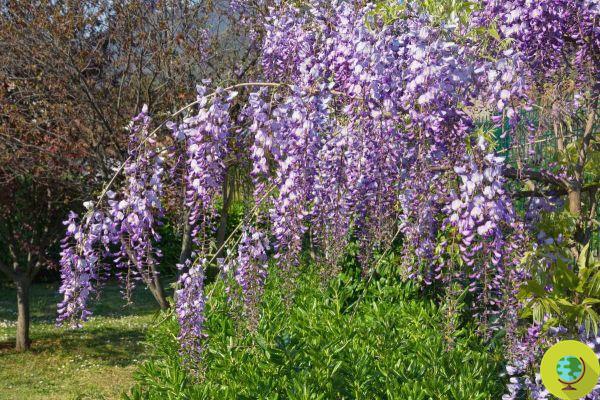
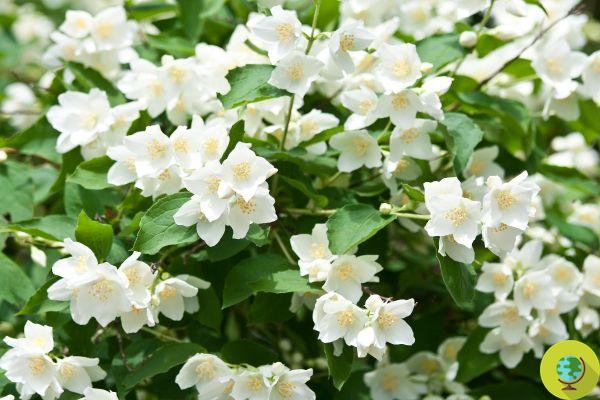
Tips: decorate your mini garden with any type of plant you want, but remember that it is best to use plants that require little water, such as succulents and creepers. In addition, moss, ivy and dwarf trees can also be planted. The tiny pots may need to be modified (in case the plants die). You can buy miniature garden accessories, but it's certainly more fun to make your own. It is best to mix the soil with sand. Use a dropper to water the plants in the mini planters. Keep a spray bottle to sprinkle water over the mini garden every day, so it's always fresh. And good fun!
Roberta Ragni
Source and photos
READ also:
- Guerrilla Gardening: the man who transformed holes into mini-flower gardens
- Indoor growing: how to build a mini tabletop garden