Magnetic mini terrariums to be placed on the refrigerator or on other metal surfaces of the house to decorate them in an original way. You can make them in a few steps starting from the right materials. Ruffled Blog suggests creating many magnetic micro gardens, which will turn into favors to give to guests on the occasion of your green wedding.
He is about to end up run over, his mother saves him
Magnetic mini terrariums to be placed on the refrigerator or on other metal surfaces of the house to decorate them in an original way. You can make them in a few steps starting from the right materials. Ruffled Blog suggests creating many magnetic micro terrariums, which they will turn into bomboniere to give to guests on the occasion of yours green marriage.
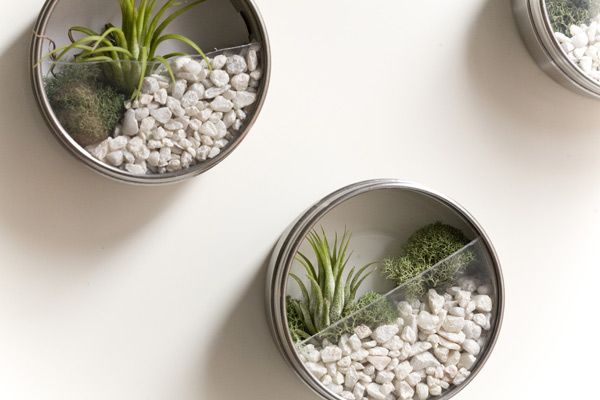
These mini magnetic terrariums are a truly original gift. They do not take up much space and do not require special maintenance. Those who will not be able to hang them vertically can simply place them on a table, as if they were small zen gardens.
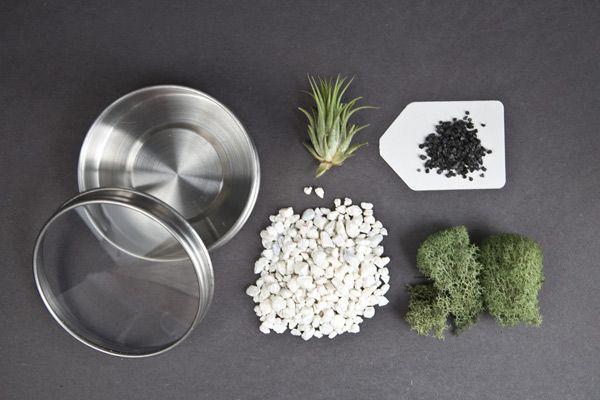
Here's everything you need:
- Sassolini
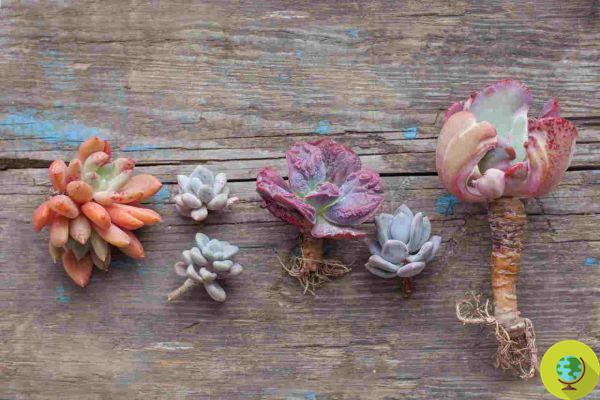
- Succulents or tillandsias
- Moss
- Topsoil
- Magnetic metal boxes
- Transparent lids
- Magnets (if the boxes are not magnetized)
– Colla
- Fretwork or hacksaw
– Scotch carta
- Spray paint
1) Inside your mini terrariums you can place some tillandsie. It is seedlings without underground roots, which derive their nourishment from the humidity of the air. If you choose tillandsias, you will not need to add soil, which will be needed for the fat plants.
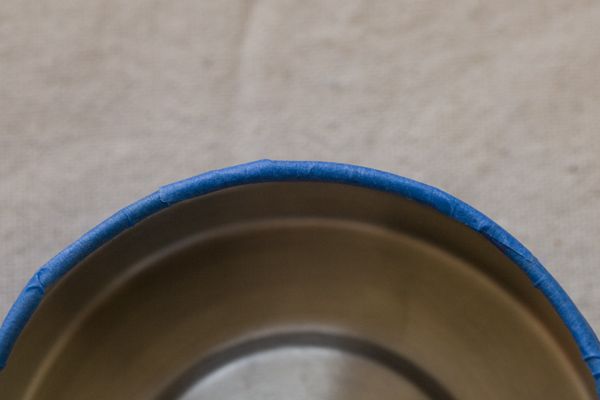
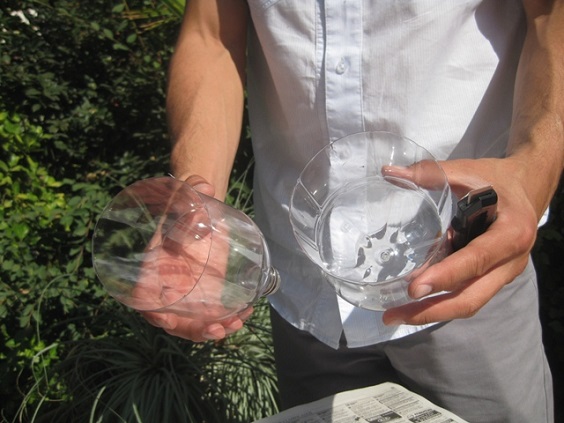
2) Cover the outside of the cans with some scotch carta before coloring them inside with spray paint. In this case the chosen color is Matt White. While you wait for them to dry, divide the transparent part of each in half - with a hole or a hacksaw cover, in order to create acrescent opening. Use the glue to reassemble the lids, keeping the opening.
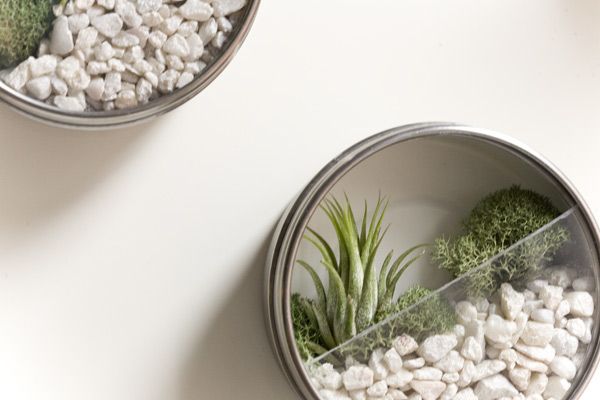
3) When the containers have dried, remove the scotch paper e wash them with soap and water. Rinse well and dry. If the boxes are not magnetized, glue a magnet to the back. Use the pebbles and moss to fill the terrariums. Arrange the chosen plants inside them. Finally, place the lids so that the mini terrariums are closed tightly and, if you are afraid that they will open once hung, glue them.
Done!
Marta Albè
Source and photo: ruffledblog.com
Read also:
Indoor growing: how to build a mini tabletop garden
Tony Larsen's terrariums inspired by Star Wars characters
Lepsis: the terrarium for raising edible insects at home