Those of you who have not placed in some corner of the house, perhaps in the cellar, one of those old 15-17 inch cathode ray tube PC monitors replaced for some time with one of the newest generation certainly less bulky, more efficient and less harmful for the sight? A little out of laziness, but also a little out of nostalgia, that ugly but still functional monitor doesn't really want to throw it away and if you really don't want to go to the WEEE disposal center, with a little attention you can try to give it new life by building a nice kennel for your beloved cat!
He is about to end up run over, his mother saves him
Who among you hasn't placed one of those old ones in some corner of the house, perhaps in the cellar monitor per PC cathode ray tube 15-17 inch replaced some time ago with a new generation certainly less bulky, more efficient and less harmful to eyes? A little out of laziness, but also a little out of nostalgia, that ugly but still functional monitor doesn't really want to throw it away and if you really don't want to go to the WEEE disposal center, with a little attention you can try to give it new life by building a nice bed for your beloved cat! Just follow these 7 simple steps indicated by the site Instructables:
Step 1: find the monitor
If you are among the few who have already given away or thrown away the old unused monitor for some time, then you will have to ask around among friends and neighbors. But if you already know where to find it, the only thing to do is take it out and give it a good clean before starting.
Step 2: Disassemble the monitor
Before starting it is important to remember be very careful in this first phase because Monitors and TVs can contain electric charge for a number of months in their capacitors it is therefore possible to take a shock.
If you think you can't take the monitor apart on your own then take it to an electrician or someone who can fix TV and it will surely give you some useful help.
But if you are one of those who prefer to do everything yourself then before proceeding you could read this guide on how to take apart a TV . Are you ready? Let's start:
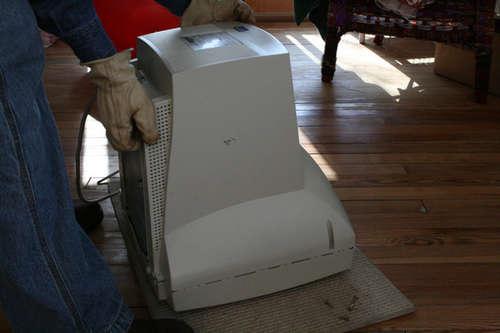
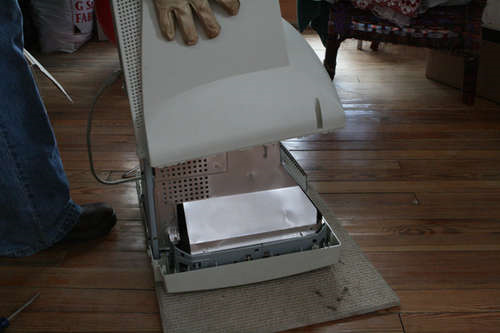
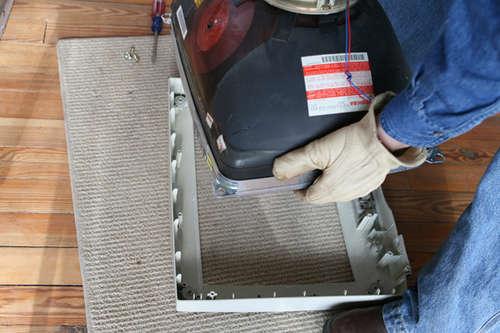
- Place the face down monitor: it can make your business easier
- Remove the holder: Remove the monitor bottom support. Often there is the trick, a plastic slot that you have to press, but most of the time you have to rotate the support until it is removed.
- Remove all screws: keep them and then reassemble everything once finished.
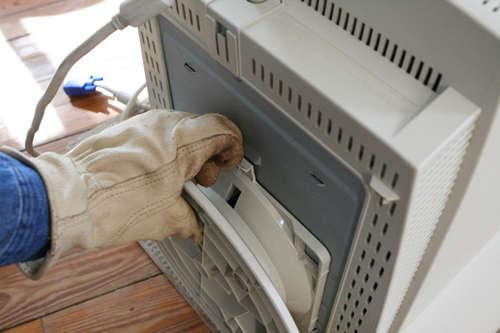
- Find all plastic tabs in order to open the outer casing. Sometimes these are located near the output cable, other times, often at the seam between the front and back of the monitor.
- Jiggle Test
To be sure you have found all the screws, the plastic clips, etc., try to shake it repeatedly until the entire interior falls: boards, screws and cables.
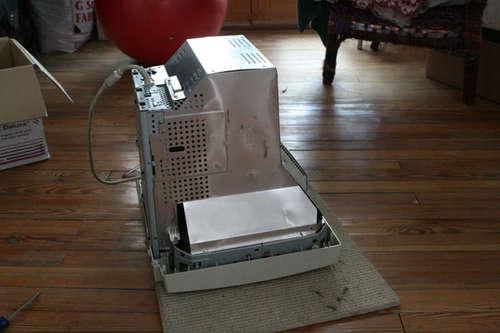
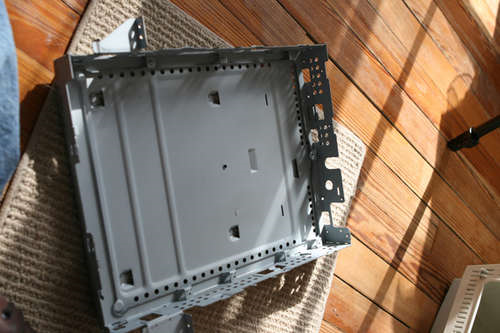
Step 4: Remove the silver-colored inner casing
Step 5. remove the cathode ray tube
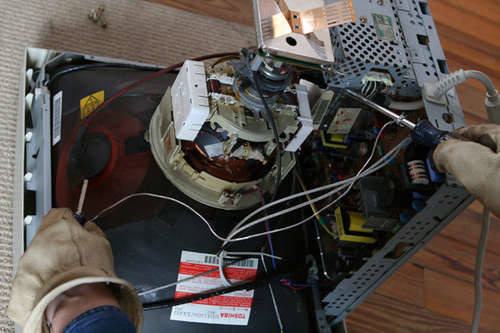
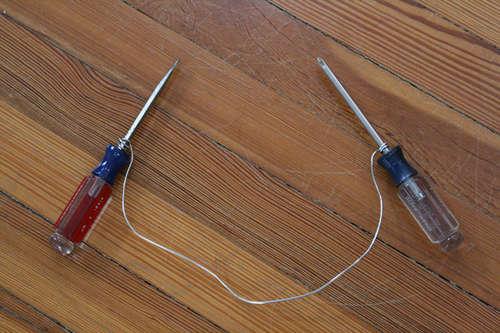
Build a capacitor, so that any electricity can be discharged to earth, with two screwdrivers connected together.
Spin the instrument around the tube to look for any residual electrical discharges, touch anything that appears to be conducting electricity.
Separate the tube from the circuit.
Once you have made sure that there is no electricity, unscrew all the screws and cut all the cables that hold the tube connected to the circuit. Then wiggle and remove until the tube comes off
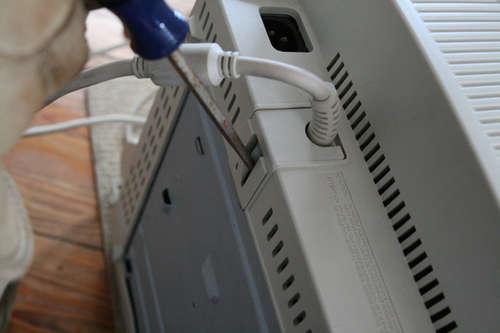
Step 6: Unplug the circuit
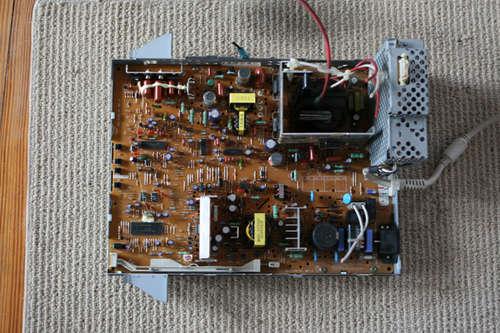
OK, now we have our plastic frame pieces, but we still need a bottom.
The bottom is still attached to the circuit, so we need to find all the small screws holding them together and remove them.
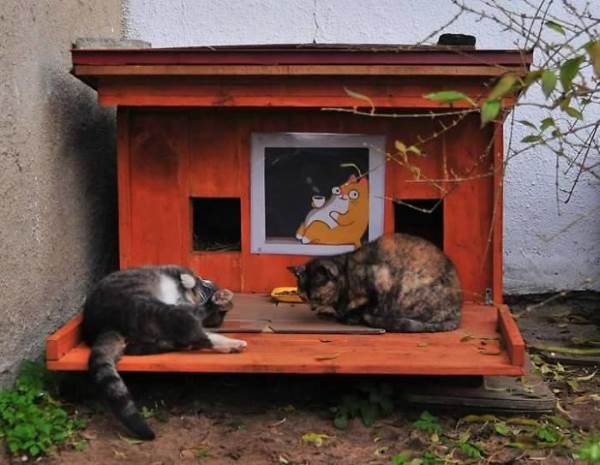
Step 7: reassemble everything
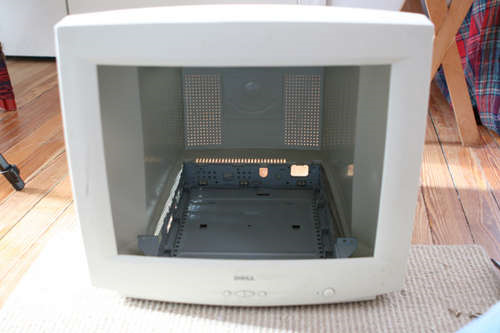
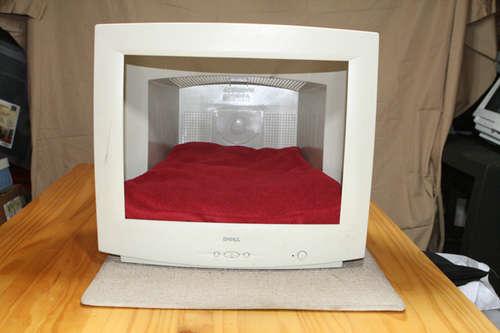
But to make it even more welcoming with a little creativity, you could pad it inside and paint it outside. Also by giving life to an old mouse you could create a little fun game to distract your beloved 4-legged pet.
And finally, I recommend that you do not throw away all the discarded parts and circuits! Handle them with care and recycle them by taking them to the ecological island closest to your home.
Gloria Mastrantonio
Photo: Instructables
Read also how recycle old CRT TVs
Read all our articles of creative recycling