Check out this list of typically winter decorations made with pine cones, which manage to be original at the same time and produce very little waste.
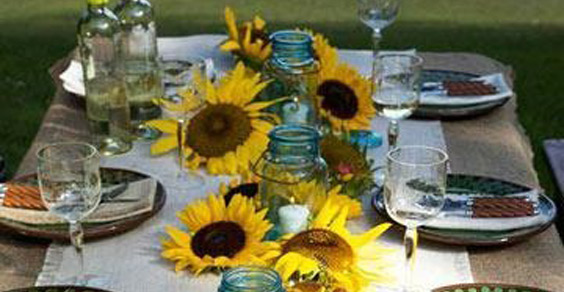
He is about to end up run over, his mother saves himWarm winter evenings wouldn't have the same atmosphere without a centerpiece that immediately catches the attention of our guests during dinner. Let's face it, i fake flowers they have had their day. Many of us find them trivial, sometimes even sad. Yet there are so many ways to make a centerpiece, there's no reason not to give non-floral arrangements a chance. Take a look at this list of typically winter decorations that manage to be original at the same time and produce very little waste: I'm ready to bet that your friends will be impressed!
Index
Centerpiece with strips of fabric from old clothes

It is a tragic but inevitable event. Cyclically some of our clothes are victims of wrong washing or the inevitable wear and tear due to the passing of time. Retrieving them is impossible, but some small samples can be used to create an eclectic centerpiece that all your guests will love.
As Better Home and Garden suggests just cut strings of matching fabrics and use glue to adhere them to a ball-shaped base. Once you've made a collection of fabric balls, arrange them in a bowl, creating a never-before-seen focal point that you can reuse for many festive occasions in the future.
As a basis, it would be preferable to use foam balls. But if you want an eco-friendly centerpiece, start with old sports gear instead, like tennis balls or old Christmas tree decorations.
Edible centerpiece with seasonal vegetables
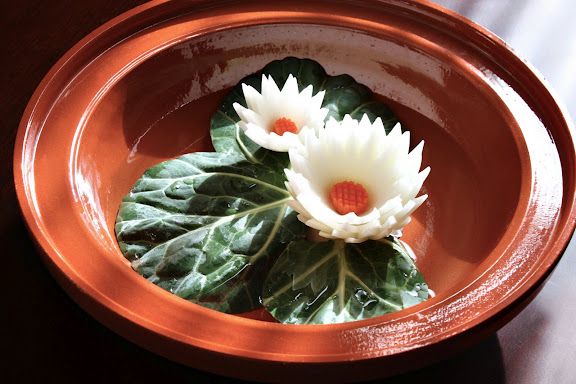
For a 100% reusable centerpiece, why not opt for a "edible" design? No, we are not talking about the classic fruit baskets, now definitely out of fashion. I'm about to reveal the secret to making one chic composition with seasonal vegetables.
Foodies aficionados use Thai composing techniques to turn vegetables like cabbage, onions and carrots into fun centerpieces that are (almost always) too good to eat. An example is the one proposed by She Simmers who also offers a tutorial to make it step by step with some cabbage leaves, an onion and a carrot. But fantasy is known, it has no boundaries ...
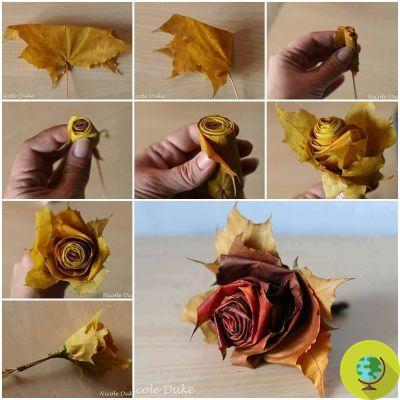
Bouquet of twigs and wrapping paper

Don't have the faintest idea how to recycle all the wrapping paper you have left at home from the last Christmas holidays? If your little ones have torn it to shreds and you can't recycle it, use it to create colorful flowers with a pinch of fantasy to apply on the twigs with small ribbons.
As this video tutorial suggests, start by rounding up a few bare twigs from your garden and place them in an old milk cup or one glass bottle with a particularly wide neck. Then cut out some flowers from your paper, using, if possible, the classic stickers loved by children, for greater precision. Cut 4 rectangles of wrapping paper and overlap them. Then get yourself a small ribbon and surround the rectangles with it, pulling a little so that the paper curls slightly. Do not cut the ends of the ribbon so you can tie them around the twig.
Then begin to shape the petals starting from the center, thus creating a soft and rich flower.
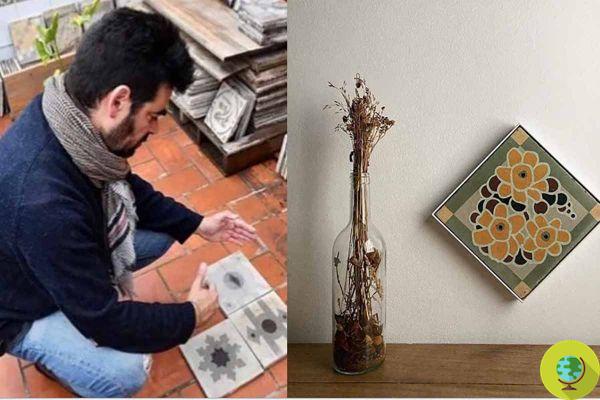
Pictures Candle holder
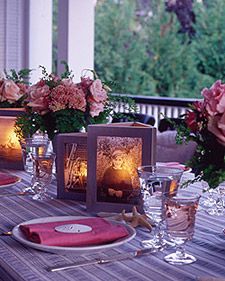
Nothing guarantees the success of an evening more than the exhibition of photos to your guests. But, instead of making a simple yet banal collage of family images, go out of the box and use your favorite shots as an original candle holder.
5) Centerpiece with pine cones and coffee
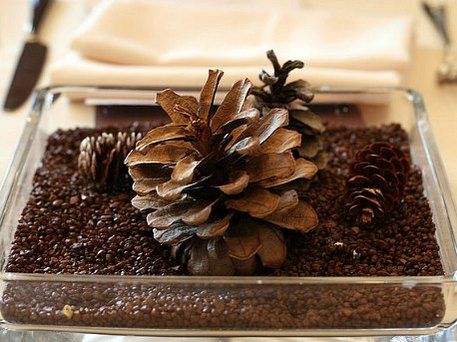
What we find every morning outside the front door, like the pine cones or twigs, it's perfect for creating a rich and inviting centerpiece. For a touch of class and an extra bit of surprise, which never hurts, complete the range of typically winter tones (shades of brown) by adding some coffee beans as was done for example in the one proposed by Craft Foxes. You can simply combine them in a plate with a very fine rim, or add some decorative candles and sprinkle the cones with spray snow or colored glitter.
After dinner, just put the coffee beans in a reusable container for any other uses.
Defeat 3 frames of more or less the same size, eliminating the part on the back. If they are wooden or white, paint them (the color livens up the result)! Then upload 3 photos to your pc. With an editing program (Photoshop works wonders with Hollywood stars, why shouldn't it help us?) You make the images black and white and resize them so that they can fit into the frames. Print the photos on velvety paper with an ink printer and place them, of course, in the frames. With a fabric ribbon, join them to form a triangle. Finally, arrange the frames around a candle appropriately placed in a glass cup. Et voila!